
The Glimmer Spire floor by floor, the solo Valkyrie fight on the top level, and how the remaster opens Nereid's Labyrinth on a first playthrough.
Tales of Eternia Glimmer Spire and Nereid's Labyrinth: EX Dungeon Explained
The Glimmer Spire is a ground floor plus six numbered floors of puzzle rooms in northern Inferia, north of Farlos, and you can only land there once the Van Eltia flies. Its top level is a solo fight: Reid faces Valkyrie alone, and the original release's boss chart gives her 32,000 HP and 32,768 EXP. Nereid's Labyrinth is the other half of the post-game picture, and it is the one place in this area the remaster genuinely rewrote. In the 2000 PlayStation release and the 2005 PSP port, that high-difficulty dungeon was only challengeable on a second playthrough started from cleared save data. In Tales of Eternia Remastered it unlocks on your first playthrough, at the moment you reach the interior of Shizel Castle.
- Access runs through both Seyfert Spheres: the Light Sphere from the Tomb of Aifread and the Dark Sphere from Shizel's Castle, inserted at the Conversion Dock in the Relay Point, which is what grants flight.
- Valkyrie is fought by Reid alone. No other party member joins that battle in the original release's documentation, and nothing published for this release contradicts it.
- The floor solutions below are original-release documentation. No remaster source publishes changed puzzles, and the official change list makes no entry for the Spire at all.
- Nereid's Labyrinth is the real high-difficulty dungeon of the two: randomly generated floors, one character per floor, and a superboss waiting at the end.
Getting In: Two Spheres and the Aibirds
The tower is not gated by a level or a story chapter. It is gated by flight, and flight is the reward for the Aibirds quest. The original release's documentation is blunt about the order: get the two Spheres first, then come here.
Official source: Glimmer Spire (RPGClassics shrine, original release)
| Gate | What it needs | Where it is |
|---|---|---|
| Flight (the Aibirds) | Both Spheres inserted at the Conversion Dock in the Relay Point | Light Sphere: Tomb of Aifread, Inferia (guide coordinates 88, 64). Dark Sphere: Shizel's Castle, late Celestia |
| The tower itself | Land after the Van Eltia can fly | Fly north of Farlos, northern Inferia |
| The top floor | Nothing extra | Walk in and climb to the sixth floor |
Two timing notes matter. Both Spheres are Celestia-side items and Shizel's Castle sits in the closing stretch of the story, so the Spire is late-game content rather than something you can detour into at will. The original walkthrough's advice at that point is to clear the remaining side content before committing to the ending, which puts the Spire and the labyrinth in the same window, and the Part 3 endgame walkthrough marks where that window opens. The sidequests and missables page covers what is still open at that stage.
Glimmer Spire, Floor by Floor
Every level is a small logic room with a fixed solution. The write-ups here are the original release's documentation, since nothing published for this release changes them.
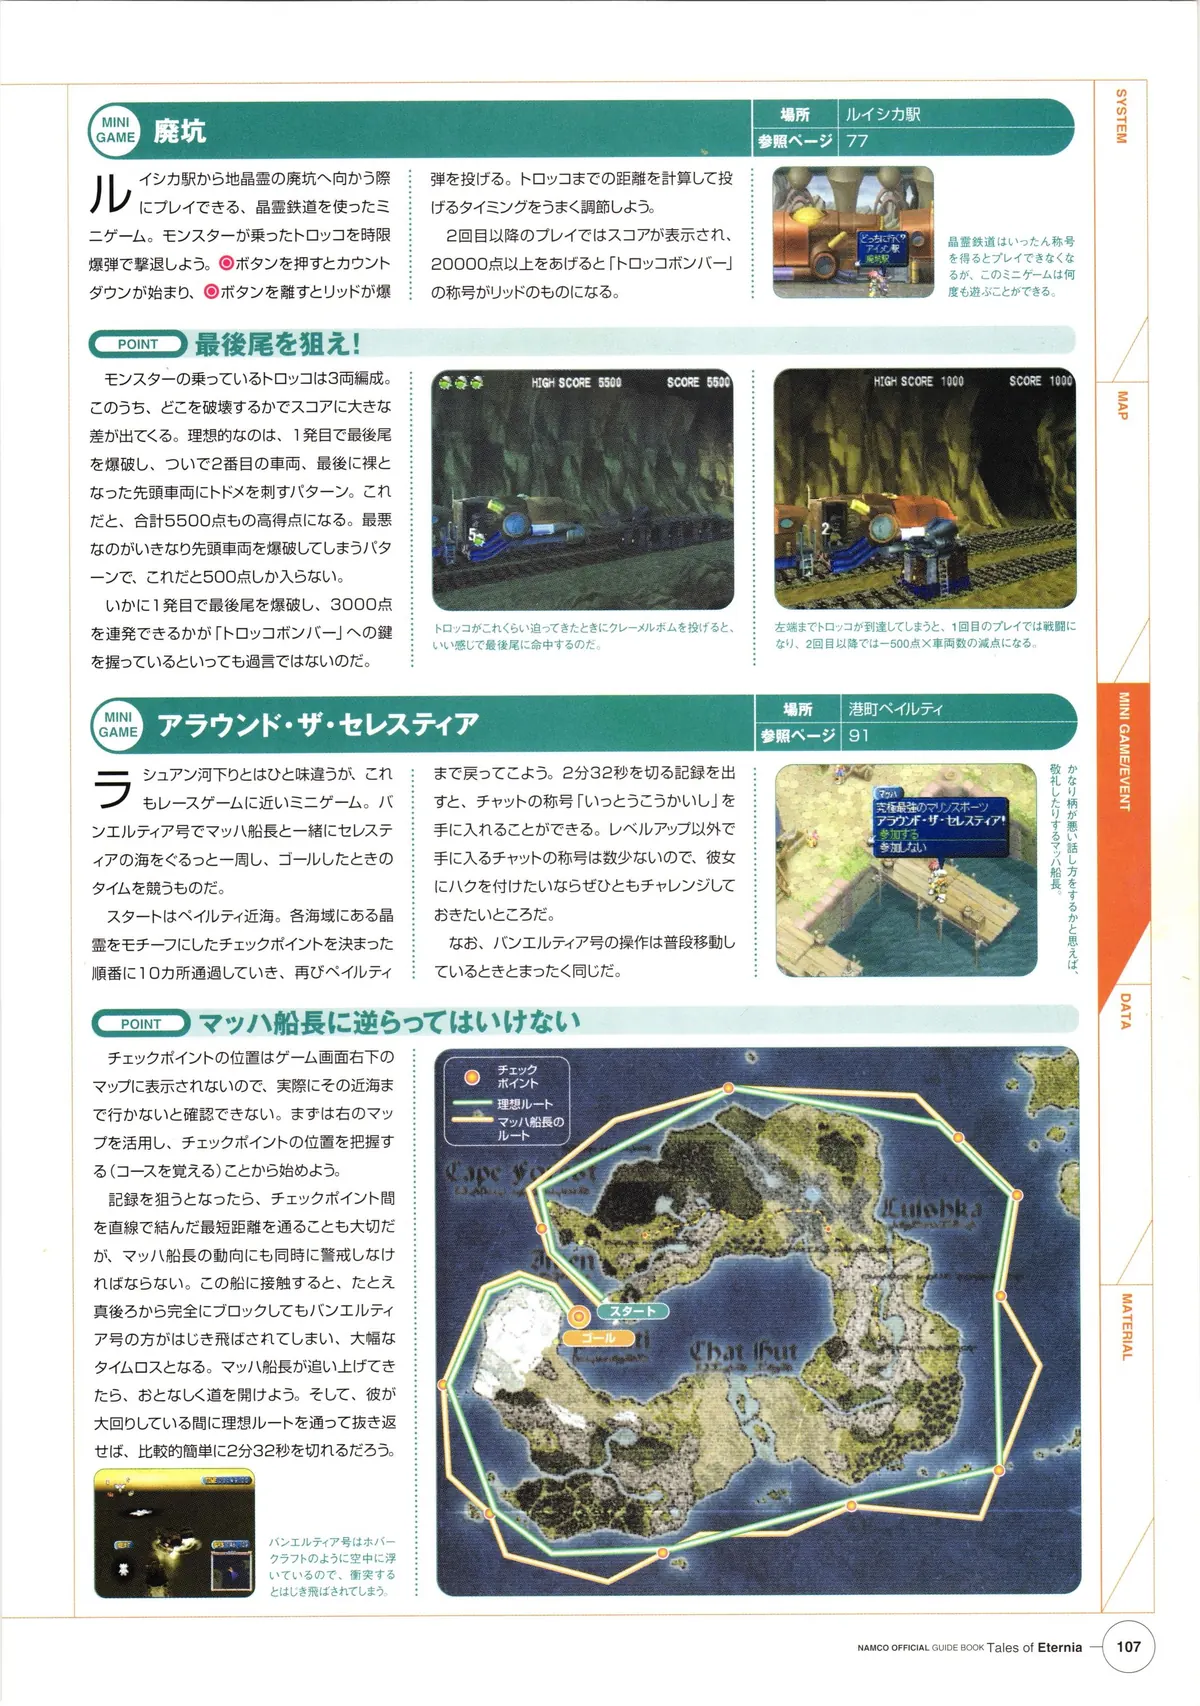
The scanned PlayStation-era guide book for this game is archived on the Internet Archive, which is where original-release layouts like this one are verifiable today.
Official source: PlayStation-era guide book scans, Internet Archive
| Level | The gimmick | What clears it |
|---|---|---|
| Ground floor | Lit buttons in a row | Step on the buttons one after another until all of them are lit |
| First floor | Circles that flash an order | Memorise the flashing order, then repeat it by examining the circles in that sequence |
| Second floor | Wind mouths and candles | Freeze the mouths blowing air with the Ring, then light the candles with the other Ring and stand still on the platform that appears |
| Third floor | Light targets | Shoot them in this order: bottom-left, top-left, top-right, bottom-right, bottom-right, bottom-middle, top-middle |
| Fourth floor | A ghostly panel | Step on the panel and keep moving: when the ghost panel touches a light, that light goes out |
| Fifth floor | Coloured panels and rods | Walk the numbered routes: 1-5-6-10-9-13-14-10-9-13-19 for green, 19-13-9-10-6-7-3-4-17 for red, 17-4-8-7-6-5-9-10-11-15-16-18 for blue |
| Sixth floor (top) | A pad sequence, then the fight | Step on the pad, then far-left, up, right, right, up, up. Examine the save point before you trigger Valkyrie |
The fifth floor numbers are not coordinates in the room's own numbering. They key to the labelled map in the original documentation, and the three colour routes are the only part of that floor written out in text. The sixth floor sequence is positional: far-left is the pad on the far left of the row, and the two ups finish where the save point sits.
The puzzle solutions, the boss figures and the loot below are original-release documentation. The remaster's published change list covers minigame skips and retries, graphics and sound switching, destination icons and difficulty tiers, and says nothing about the Glimmer Spire, so treat these as the map rather than as verified remaster behaviour.
The Top Floor Is a Solo Fight
Valkyrie is the reason this page gets searched. The original documentation states it flatly: Reid fights alone. Your levels and Reid's equipment carry into the battle; the rest of the party does not.
| Valkyrie at a glance (original release) | Value |
|---|---|
| Location | Sixth floor of the Glimmer Spire, northern Inferia |
| Who fights | Reid only, no support characters |
| HP | 32,000 |
| EXP | 32,768 |
| Gald | 0 |
| Weakness and resistance | Charted as weak to everything, with no resistance entry |
| Save point | On the top floor, before the encounter |
Official source: Tales of Destiny II boss chart, Valkyrie and Sekundes (RPGClassics shrine, original release)
The fight itself is a movement test. Community documentation from the PlayStation era describes Guard Impact deflects, an opening in her recovery frames, and a very long ultimate sequence of wide swings that ends with a spell. The community tactic that circulates for this fight is Reid's instant-kill Mystic Arte route: use Omega Seal at least fifty times to unlock Quasi Seal, then land it once her HP is under 20,000. That is original-release player knowledge rather than a documented remaster behaviour, so treat it as a lead that may need re-testing in this build. General arte routing and the chain timings live on the artes and combos page, and the battle system guide explains the timing window that makes her attack recovery the safest moment to commit.
The official change list adds Battle Retry to the Game Over menu, so a lost attempt can be restarted instead of reloading a save. For a solo fight with a long ultimate sequence and no party revive, that is the single most useful addition this release brings to the Glimmer Spire.
After the Fight
Clear the top floor and the documentation says to collect the reward chests, then take the teleporter, which drops you at the bottom of the tower. There is a second step, and it is easy to miss: the original guide sends you back to the underwater hideout in Celestia at map coordinates 57, 112 to examine the sword there. Item lists for the original release connect that sword to an item that gives Meredy a move, but the guide text never names the reward, so plan the trip on the coordinates rather than on a promised drop.
The Glimmer Spire's own payout is a chest room and that sword event. The six-piece legendary equipment set, the achievement tied to it, and the hard superboss all belong to Nereid's Labyrinth, which is a separate dungeon in a separate part of the map.
Nereid's Labyrinth: What the Remaster Changed
This is the entry in the official change list that matters most to a returning player.
In the original version, the high-difficulty dungeon "Nereid's Labyrinth" was only accessible in subsequent playthroughs starting from a cleared save data. However, in this version, it is unlocked upon reaching the interior of "Balir Castle" during the first playthrough.
Official source: English translation of the official feature list (Nintendo Everything)
The Japanese original of that same list is published on Bandai Namco's own site, and it places the unlock at the interior of Shizel Castle, the late-game Celestia castle where the original walkthrough picks up the Dark Sphere and fights Shizel and Nereid. Balir Castle is an earlier Celestia location in the same arc, a different place on the same map. Both names are in circulation because the English translation of the change list renders the location as Balir Castle. Plan around Shizel's Castle and confirm the doorway in game.
Official source: Remastered change list (Bandai Namco official site)
| Nereid's Labyrinth | Original (PS1 2000 / PSP 2005) | Remastered (October 2026) |
|---|---|---|
| Unlock window | Second playthrough onward, from cleared save data | First playthrough, on reaching the interior of Shizel Castle |
| Officially described as | A high-difficulty dungeon | The same high-difficulty dungeon |
| Difficulty tiers around the unlock | Mania was locked behind a second playthrough | Mania selectable from run one, plus two tiers new to this release: Extreme from the start and Unknown from run two |
| Floor layout | Not described in any published change list | No published change |
That last row is the honest limit of what the official material says. The change list moves the unlock and stops there, so the floors themselves are expected to match the original until someone documents otherwise. The difficulty modes page covers what Mania and Unknown actually change, and the New Game Plus page covers the transfer screen that used to be the only way to reach this dungeon.
Inside the Labyrinth
The original release's layout, as recorded by players who finished it: a randomly generated maze in which each floor is cleared by a single character, with no character repeated, and every floor ends in a boss. The last level holds Nereid Regulus, the game's superboss, fought with an untargetable spirit floating above him in the same shape as the Shizel encounter.
| Labyrinth detail (original release) | Value |
|---|---|
| Structure | Randomly generated floors, one party member per floor, no repeats |
| Floor boss | One per floor |
| Final boss | Nereid Regulus, on the last level |
| Signature hazard | An unhittable spirit above the boss, casting without interruption |
| Clear reward | Hyper Gauntlet, taken from the throne after the fight |
| Why it matters | It is the piece that completes the six-piece legendary set for Reid |
That reward is the reason the two dungeons get talked about together. The original release's six-piece legendary set is listed as Excalibur, Blue Shield, Gold Armor, Gold Helm, Hyper Gauntlet and Jet Boots, and equipping all six grants Reid boosted attack and defence, HP and TP regeneration, status immunity, a backstep and a movement speed boost. The Steam achievement Legendary Arsenal asks for the same thing in its own words: collect the legendary hero's equipment and don all six pieces to awaken its true power. It sat at a 0.9% global unlock rate when checked on October 17, 2026, which makes the Gauntlet in this dungeon the end of a long chain rather than a side errand.
If you want to reach it without the grind, the leveling and farming page covers what this release hands you, including the high-speed auto-battle mode and the Boost function from the official feature list. Arriving over-levelled is a legitimate plan here, because the labyrinth is where the original release put its hardest fight.
FAQ
Where is the Glimmer Spire in Tales of Eternia?
Northern Inferia, north of Farlos. You can only land there after the Van Eltia gains flight, and flight comes from the Aibirds quest, which needs both Seyfert Spheres: the Light Sphere from the Tomb of Aifread and the Dark Sphere from Shizel's Castle.
Can I bring my whole party to the Valkyrie fight?
No. The original documentation is explicit that Reid fights Valkyrie alone at the top of the Glimmer Spire. Equipment, artes and level carry into the battle; the rest of the party does not.
Is Nereid's Labyrinth the EX dungeon?
It is the game's bonus dungeon, and it is the one the remaster changed. The original release only allowed it on a second playthrough started from cleared save data. In Tales of Eternia Remastered it unlocks during your first playthrough when you reach the interior of Shizel Castle.
Do I have to finish the game before I can enter Nereid's Labyrinth?
Not in this release. The first-playthrough unlock fires when you reach the castle interior, which is late in the Celestia arc rather than after the credits. Some English-language lists put the same unlock at Balir Castle, because that is how the translated change list renders the location name; the official Japanese page names Shizel Castle.
How many floors does the Glimmer Spire have?
A ground floor plus six numbered floors, with Valkyrie on the sixth. Guides that say six floors are usually not counting the ground floor, which has its own button puzzle and no boss.
Is the ultra-hard six-piece set inside the Glimmer Spire?
No. The Glimmer Spire pays chests and an underwater event. The legendary six-piece set is completed by the Hyper Gauntlet you take from the throne after beating Nereid Regulus on the last floor of Nereid's Labyrinth.
Related Guides
- Tales of Eternia New Game Plus and Carryover - the transfer screen, and why a second run is no longer the price of entry for the labyrinth.
- Tales of Eternia Remastered Difficulty Modes Explained - Mania from run one and Unknown from run two, which decide how hard the labyrinth hits.
- Tales of Eternia Leveling and Farming Guide - the grind tools this release adds, and where the original's own experience spots were.
- Tales of Eternia Sidequests and Missable Events - what is still open in the same window as the Spire and the labyrinth.
- Tales of Eternia Original vs Remastered: What Changed - why this build follows the PSP port, and what that means for a 2000-era dungeon layout.
- Tales of Eternia Remastered Walkthrough: Full Guide - the arc-by-arc route that tells you when both dungeons become reachable.
More Tales of Eternia Remastered Guides
What the Deluxe Edition and all seven Remastered DLC packs contain, what each costs, and the two restrictions Bandai Namco buried in the fine print.
How the combat levels work in Tales of Eternia Remastered: what is selectable from hour one, what unlocks on a second playthrough, and where to change it.
Reid's Eternal Sword, Farah's Omni Weapon and the six-piece legendary set behind Legendary Arsenal, plus armour, accessories and Gald priorities.
Optional and EX bosses in Tales of Eternia explained and separated: Sekundes, Wraith Horus and Valkyrie, where each one lives and what each rewards.
HowLongToBeat has no remaster times yet; the 2000 original averages 33 hours for the story, 42 with sides and 73.5 hours for full completion.
Tales of Eternia Remastered holds a 76 Metascore: what reviewers praise, the 2D combat split, the Switch stick problem, and who should buy at $29.99.
Tales of Eternia leveling and Gald farming: Boost's experience and encounter dials, when grinding pays, and the mid-game buys worth saving for.
Every Tales of Eternia minigame and where to find it: the Rasheans river race, Craymel Ball, Chamballoon, the stone game and the cooking contest.